Some of my favorite demonstrations are about how to enhance the Search Results pages in SharePoint. I feel that presenting “actionable” search results can make the difference between a good search center and a great search experience. I am working on some new demos and decided that I need to commit the fundamentals to my blog so that my audience has the necessary resources to apply the guidance from my presentations.
I always use the “Enterprise Search Center” also known as the “Search Center with Tabs”. I find that the UI lends itself to customization and branding far better than the “Basic Search Center”. The first issue you will face is creating a new tab in the UI and associating it with a page. This initial step can be confusing. So I’ll walk through it with you. One other annoyance is that the tabs can be challenging to reorder. At the end I’ll review a hack that I found that helps you reorder the tabs in the SharePoint Search center.
Understanding the Tabs
The first thing to understand is the Tabs. There are two lists that control the Tabs, one for the Search pages and one for the Results pages. If you want the same tab on both types of pages you have to configure the links in BOTH lists.

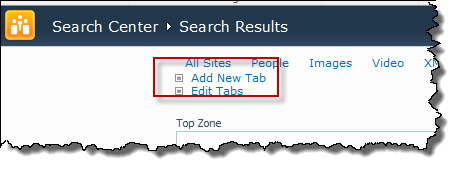
If, while editing the Search Center, you click Add New Tab, you will be directed to the list associated with the page type you were editing (Tabs in “Search Results for Search Results” pages and “Tabs in Search Pages” for Search pages). This means that you can display different tabs on the Search Results pages than you do on the Search Pages.
In each list the Tabs are related to a page. The page is displayed when the tab is clicked. This means that you have to create the page first, before creating the tab.
Create the Results Page
If you are on your Search site and you click Site Actions | New Page the default configuration is to create a Search Results page. This means that if you want to create a new Search page you have to take the long way around. For this reason, I always create my pages as follows:
-
Choose Site Actions | View All Site Content.
-
Choose the Pages library.
-
From the ribbon, choose the Documents tab and choose New Document | Page.
-
On the Create Page page enter the Title and Description for your new page.
-
Enter the URL. I use a standard page name that ends with “result”, like “demoresult”, “videoresult” for my results pages.
-
Finally, choose the type of page that you want to create. For this demo, choose Search results. Usually you will choose one of the following page types:
- Search results
- Search box
- People search results
- Advanced Search
-
Click Create.
-
You will be returned to the Pages library and see your new page listed.

-
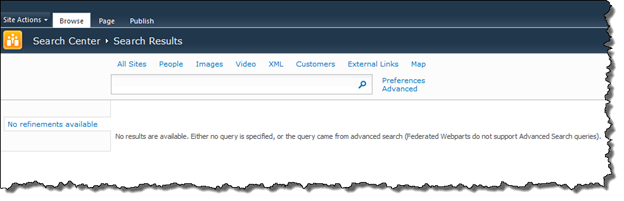
Click the link for your page to see the new page you created. Since there is no query you will see the text “No results are available. Either no query is specified, or the query came from advanced search (Federated Webparts do not support Advanced Search queries).” Don’t fret. If you got this far you are doing great.
Fix the Page
The next step is to “fix the page”. Now, it’s not “broken”, but it does display some odd behavior if you try to use it. For example, enter a query and click the search button. Go ahead, I’ll wait. Look at the search results page URL. Notice that it is no longer your new search page, it’s the default Search site results page. The reason for this is because the web parts on the page are wired for the default search center. We have to change that behavior. Use the back button to return to the new search results page you created and follow these steps:
-
From the ribbon, choose the Page tab and choose Edit.
-
Select the Search Box Web Part and from the context menu on the Web Part, chose Edit Web Part.
-
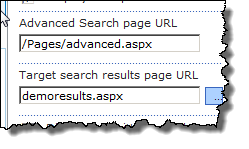
In the Search Box Web Part properties pane, open the Miscellaneous section and change the Target search results page URL property to the name of your new search results page. My page is called DemoResults.aspx.
-
Click OK in the Web Part edit pane.
-
Choose Save & Close from the ribbon.
-
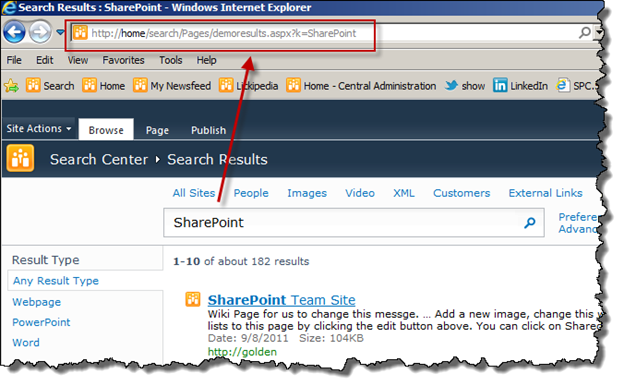
Test your work by entering a keyword in the search box for your page. You have done it correctly if your search results show up on your new page. In my case I entered my keyword on the demoresults.aspx page and my results are showing on the same page.
Add a Tab
OK, now that your page is working we can add a tab. Since this is a Search Results page, we’ll add the tab to the “Tabs in Search Results” list. You can do that by returning to All Site Content or you can do it from the page.
-
From the Search Results page, choose the Page tab in the ribbon.
-
Click Edit.
-
On the page choose Add New Tab.
-
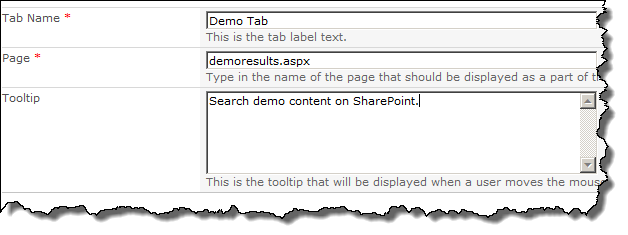
Enter a Tab Name (this is what the User will see).
-
Enter the exact Page name of your new page. In my case it is demoresults.aspx.
-
Enter a Tootip for the user to see when they hover over the tab. This will let them know what they’ll get by clicking the tab.
-
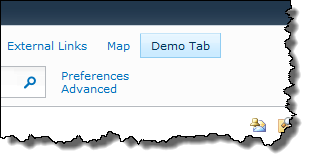
Click Save. You will be returned to the search results page and you should see your new Tab highlighted. (If not refresh your browser once or twice.)
-
Test the tabbing by entering a query on the All Sites tab. Click the search button and review the results. Click your new tab and you should see the same results on the new tab. If you get an error it is usually because you spelled the page name wrong in the Tab entry.
Reorder the Tabs
Back in 2007 the Tabs list supported reordering. I noticed in 2010 that the Change Item Order button is missing from the Tabs list. The list still supports it, but you have to cheat a little to get it right. Here is how I have found you can reorder the items in the Tabs list. Note: Your mileage may vary.
-
Browse to the Tabs list you want to reorder. Site Actions | View All Site Content. Choose Tabs in Search Results for this demo.
-
From the ribbon choose List from the List Tools group. Choose List Settings.
-
Edit the URL and change the page reference from listedit to reorder, leave the rest of the entire URL.
-
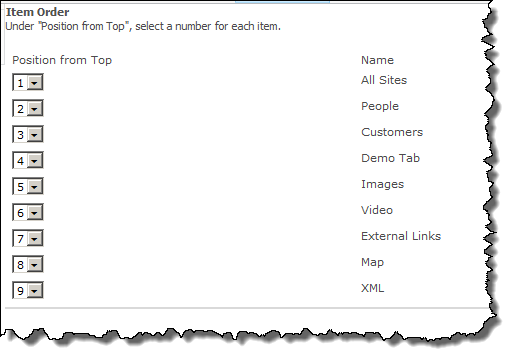
You should see the Change Item Order page where you can now change the order of the Tabs. Set the desired order for your tabs and click OK.
-
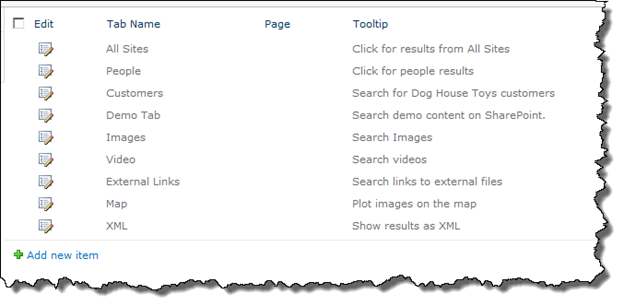
Return to the Search Results page and…it did not change a thing. L Return to the Tabs in Search Results list and notice that they are reordered. For some reason the Search Center control is unaware that we made the change.
-
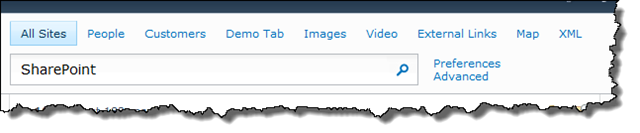
Open and edit ANY item in the list. I edited the XML record and changed its name to XML. Click Save.
-
Return to your Search Center and the results page should reflect the desired order of the Tabs.
Conclusion
I hope that this walk through helps you get started on the road to creating great search center results pages. What I reviewed here is just the basics. In later posts I’ll cover how to edit the results XSL and how to debug the XSL in a reliable and repeatable way.