This is a demo I often do when asked about how I perform Search Center XSL changes to improve the SharePoint Search Center Search Core Results Web part display. This information is buried in a few of my other posts so I thought I’d call it out all by itself for clarity. I usually perform these steps right after I create a new Search Results page and corresponding tab in the process of customizing the tabbed Search Center as I explain in the post Getting Started with Search Results. I perform these steps for many reasons that I detail in my No Code Search Center Customizations lecture. The primary reasons are:
- Working in the Web Part XSL dialog is an error prone exercise
- Moving the XSL to the Style Library allows you to maintain versions of your XSL
- SharePoint Designer will Syntax Highlight your XSL
Here are the steps I follow:
Get the XSL out of the Web Part
The main goal is to get a working version of the Search XSL out of the Web Part for you to work with in SharePoint Designer.
-
Open your search results page in a browser.
-
Put the page in Edit mode and choose Edit Web Part from the Search Core Results Web Part menu.
-
In the Search Core Results Tool Pane open the Display Properties section. Uncheck Use Location Visualization and the XSL Editor… button should become active.
-
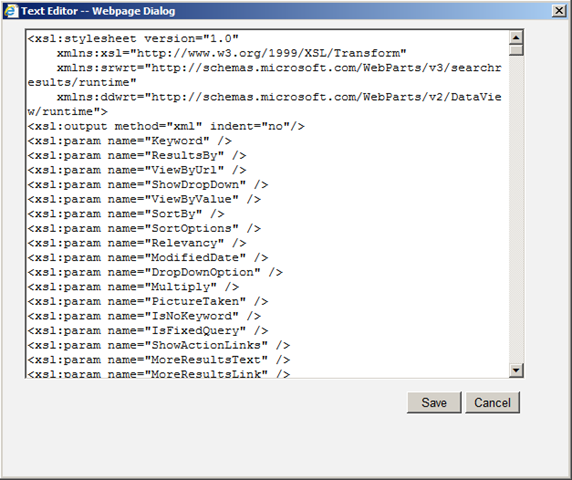
Click the XSL Editor… button to open the Text Editor dialog.
-
Right click in the dialog and choose Select All. Copy the text and paste it into Notepad++ or other text editor and save it. I do this step because I like to preserve the original XSL as I have seen cases (usually when I am conducting a demo, where the dialog open up totally blank. I like to have a copy for safe keeping.
-
Click Cancel to close the dialog.
-
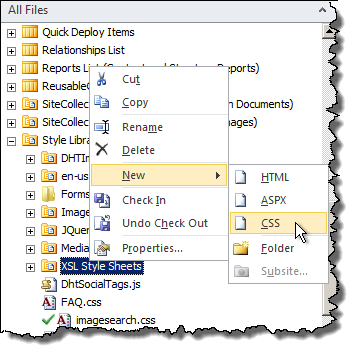
Open SharePoint Designer to the root of the site collection hosting the Search Center. Under Site Objects click All Files and browse to the XSL Style Sheets folder, the path from the root is /Style Library/XSL Style Sheets. (You can actually put them anywhere your visitors have read access. I have always used the XSL Style Sheets folder.)
-
Right click on the XSL Style Sheets folder and choose New | CSS. (I know! If there was a New | XSL option I’d have you choose that…)
-
Provide a sensible name for the file. I usually use something similar to the name I gave the results page. Be sure to change the file extension from CSS to XSL. When SPD warns you about changing the file extension choose Yes, you do want to change it.
-
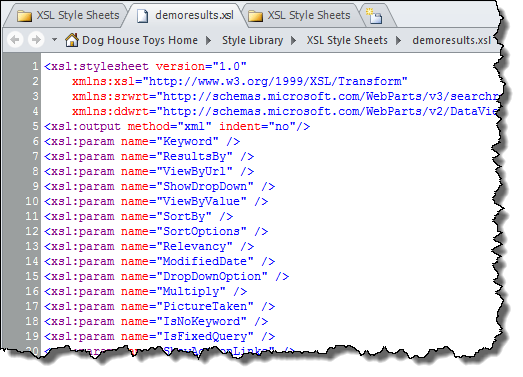
Right click the new file and choose Edit in Advanced Mode. SharePoint Designer will open the blank file.
-
Paste the XSL that you copied from the Web Part dialog into the file. Save the file. (Look! Syntax Highlighting!)
-
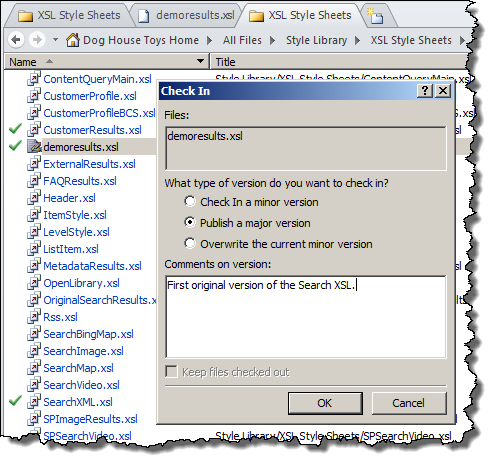
In the All Files pane right click the file and choose Check In. Choose the Publish a major version radio button and provide a comment that indicates this is the original XSL from the Web Part. Choose OK to check in the file.
-
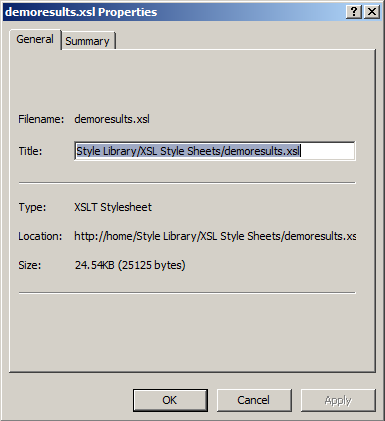
Right click the file again and choose Properties. Copy the contents of the Title text box. Choose Cancel to close the dialog.
-
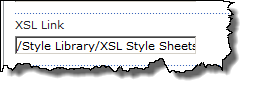
Return to the browser (you should still be in Edit mode, if not edit the Search Core Results Web Part). Expand the Miscellaneous section. In the XSL Link property add a backslash and paste in the Title path that you previously copied from the XSL file.
-
Click OK to close the Web Part Edit Pane. Choose Check In from the ribbon. Provide a comment and choose Continue.
At this point you should be able to execute a query from your search results page and see search results just like the result you get with the out of the box results page. Go ahead and give it a try. If the page explodes, retrace your steps and see what you did wrong. If it’s all working then lets try to edit the XSL and make a noticeable change so that we are REALLY certain that the Web Part is reading our file. NOTE: Since we are using Check Out and Check In you have to be viewing the Search Results page with the same account that you are using to edit the XSL.
Edit the XSL
I usually start by making a simple, subtle change to the page so that I am sure that the XSL is working. I do the following:
-
Return to SharePoint Designer, right click the file and choose Check Out. Right click the file and choose Edit File in Advanced Mode.
-
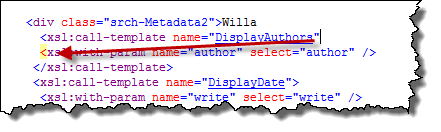
Locate the line in the Result template that displays the metadata. Locate the tag
and add a noticeable word to the end of the line, like this:<div class="srch-Metadata2"><div class="srch-Metadata2">Willa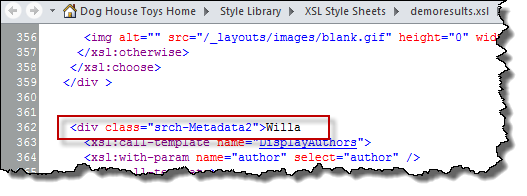
-
Save the File (you don’t need to check it in.)
-
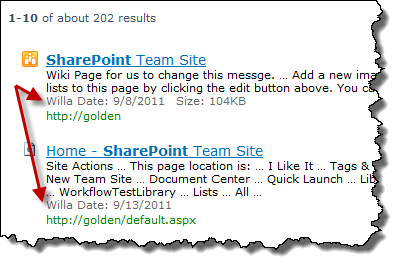
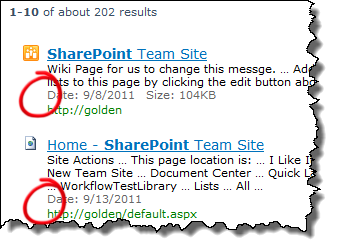
Refresh the Search Results page and you should see the word on the page before every Author (or Date).
Now you KNOW that you own the XSL. You can use SharePoint Designer to make the changes you need and use SharePoint for version control. How great is that? If you work on complex XSL and need to roll back after a small change breaks your page, you will find it a life saver!
One Word of Warning
Back in SharePoint 2007, if you messed up the XSL for the Search Results you would get a huge error message telling you so. In 2010 the Search Core Results Web Part is “Self Healing”. In other words, if you screw up, it will not tell you. The Web Part will just load it’s own copy of a working stylesheet and present the user with Search Results. You can easily demonstrate this:
-
Return to SharePoint Designer and make a simple, albeit catastrophic, change to the stylesheet. On the line below the edit we made above, remove the closing greater than sign just after “DisplayAuthors”. Making the line that reads
read<xsl:call-template name="DisplayAuthors"><xsl:call-template name="DisplayAuthors"Notice that SharePoint designer flags this error in yellow on the following line. (I used to do this demo by gutting my stylesheet, deleting 20-30 lines, but this is more realistic and subtle.)
-
Save the broken file.
-
Return to the Search Results page and refresh the browser. You should notice that the text we inserted is removed and no error is generated.
-
Depending on your perspective this is either a good thing or a bad thing.
-
Return to SharePoint Designer and undo the last action. Save the file and refresh your browser, you should see the text return.
I call attention to this feature because I have run into it so many times that it is the first thing I troubleshoot when we are having Search Center issues. I hope this save you some grey hair.